6 Things To Know About Framing Needlepoint Work
Needlepoint is a special art medium that can add texture and color to your walls. Using a fabric canvas, many people embroider beautiful pieces of art depicting animals, landscapes, and inspirational messages. Here are six things to know about framing needlepoint work , from the proper mounting equipment to strategic wall placement.
Preparing Your Needlepoint Canvas Before Framing
Whether you received your needlepoint art as a gift or followed a DIY guide, preparing the canvas will help you find the accurate measurements and style options for your frame. Before sliding the canvas into a frame permanently, preserve the work to boost its longevity and appearance.
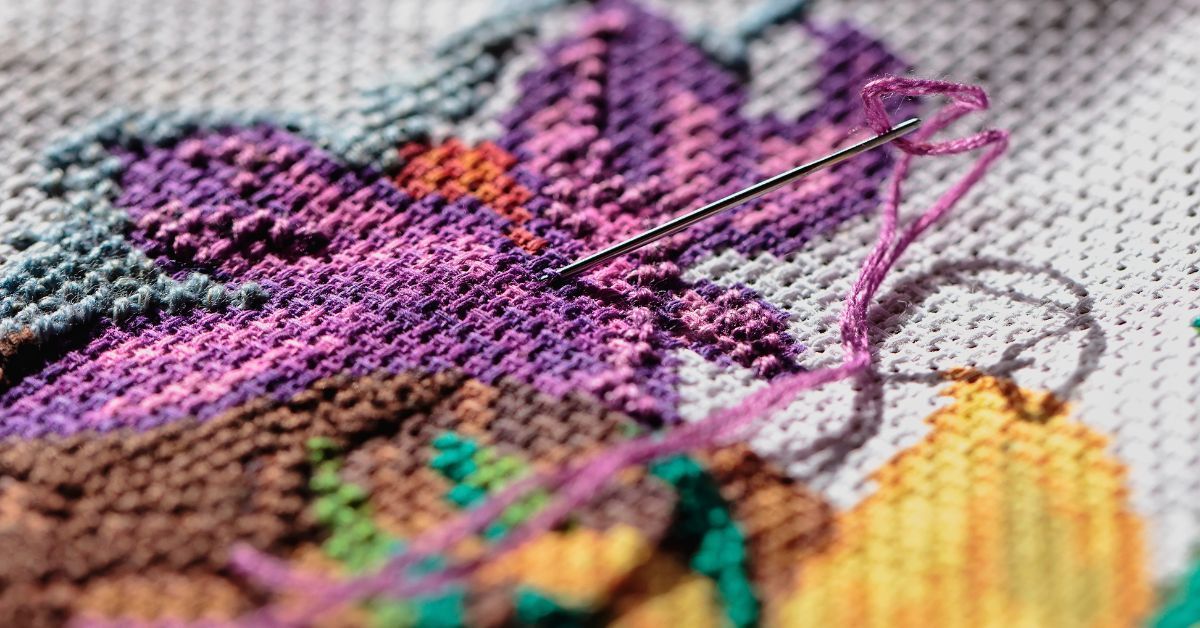
Cleaning and Blocking Your Canvas
Properly cleaning and blocking the canvas helps to flatten your needlepoint and remove any distortions. First, check the materials used for the needlepoint to determine what type of chemicals to avoid when washing it. After learning its composition, gently handwash the fabric using a mild soap if needed.
Once the artwork is clean, stretch the needlepoint tightly over a blocking board using pins or tacks. When it’s fully dry, you’ll be able to accurately take the measurements of the needlepoint art while it’s fully stretched and smooth.
Trimming and Stabilizing the Edges
Frayed or uneven canvas edges can detract from the final framing result and create inaccurate dimensions. To avoid a messy design, neatly trim the excess canvas, and leave a safe margin of fabric for lacing or securing with tape.
For added protection, you might also consider stabilizing the edges with clear fray-preventive liquid. This preserves the canvas and prevents the work from becoming undone over time.
Choosing the Best Mounting Techniques
Mounting your needlepoint work allows the art to sit on an additional surface within the frame for stability. Consider the materials and canvas used for your needlepoint work, and pick out a mounting material that works best for your artwork and the frame.
Foam Core Mounting for Lightweight Frames
Foam core is a simple, lightweight material that suits smaller needlepoint pieces. To mount your artwork, stretch the canvas evenly across the foam core, and secure it on the back with lacing thread or archival tape. This will hold down your artwork onto a stabilized surface before you place it into a frame.
Conservation Mounting for Long-Term Preservation
For heirloom-quality needlepoint or special pieces, conservation mounting methods will protect the artwork even further. Choose acid-free mat boards and archival materials to avoid degrading the fabric over time. Using gentle stitching techniques to attach the canvas, you’ll be able to fasten your artwork securely.
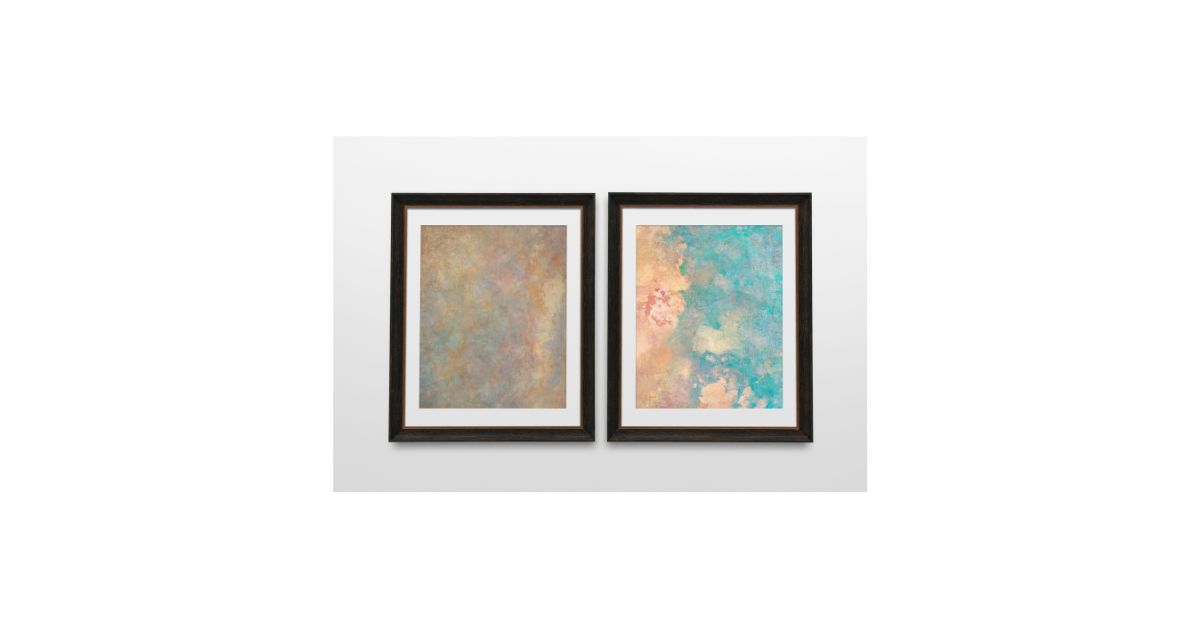
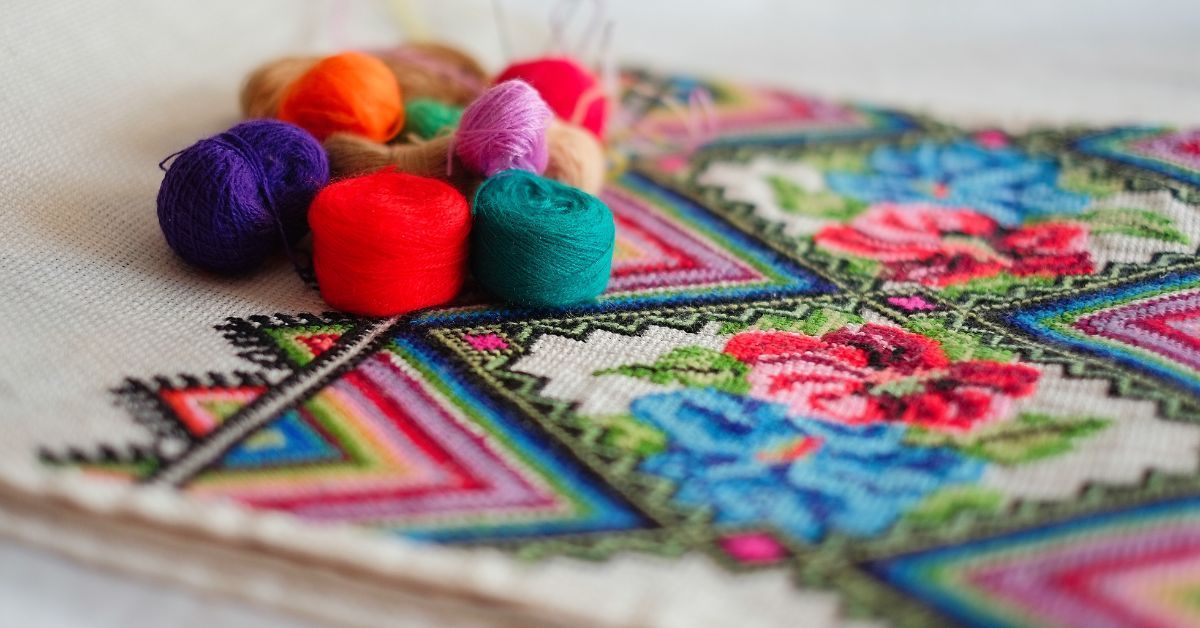
Using Mats and Borders To Enhance Your Artwork
Mats and borders can embellish the presentation of your needlepoint artwork. By mixing different colors and textures, you can add depth to highlight specific details within the design.
Understanding the Role of Color Selection
The mat color you choose should complement the needlepoint design without competing for visual attention. Neutral-toned mats in shades of gray or cream are versatile enough to match nearly any needlework. If the artwork contains bold and striking colors, you could also choose a contrasting mat to draw the viewer’s eye directly to the design.
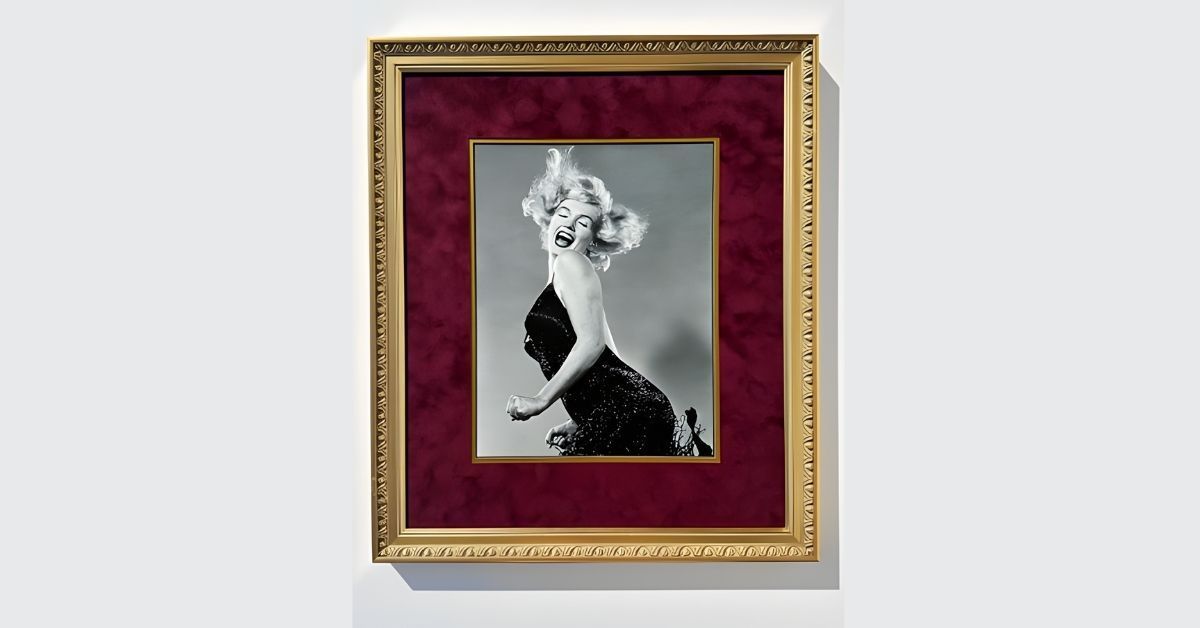
Choosing Mat Thickness and Layers
The thickness of your mat can create subtle or dramatic effects depending on your preference. A single, thin mat works best with smaller works to keep the piece understated, while larger mats with multiple layers can add dimension. Determine how far from the wall you want to showcase your design and make it pop.
Protecting Your Needlepoint With Glass or Acrylic
Proper protection guards your needlepoint artwork from dust, UV damage, and environmental wear. Between a glass and acrylic barrier, determine which one will help you showcase the intricacies of your design best.
The Benefits of Antireflective Glass
Antireflective glass reduces glare and can provide full coverage protection for your needlework. This option is ideal for highly detailed pieces where a reflection might obscure intricate stitching.
It’s important to note, however, that glass conducts both high temperatures and humidity, which could damage the artwork. For the best preservation, consider placing your framed glass away from direct sunlight.
Using UV-Protective Acrylic for Lightweight Frames
For lightweight frames or spaces exposed to sunlight, UV-protective acrylic is an excellent option. It’s lighter and more shatter-resistant compared to glass, making it safer for frames hung in high-traffic areas. While not as antireflective as glass, the added UV shield helps prevent fading and discoloration over time.
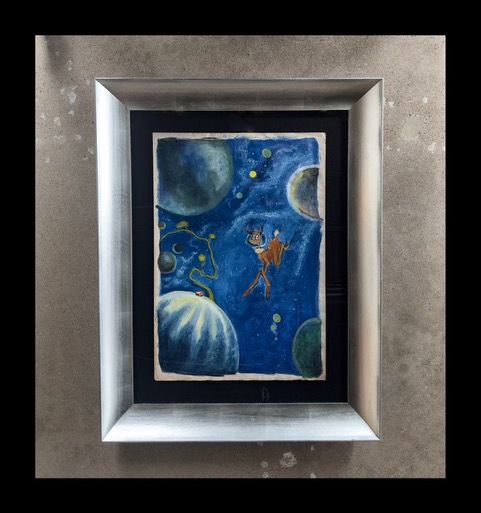
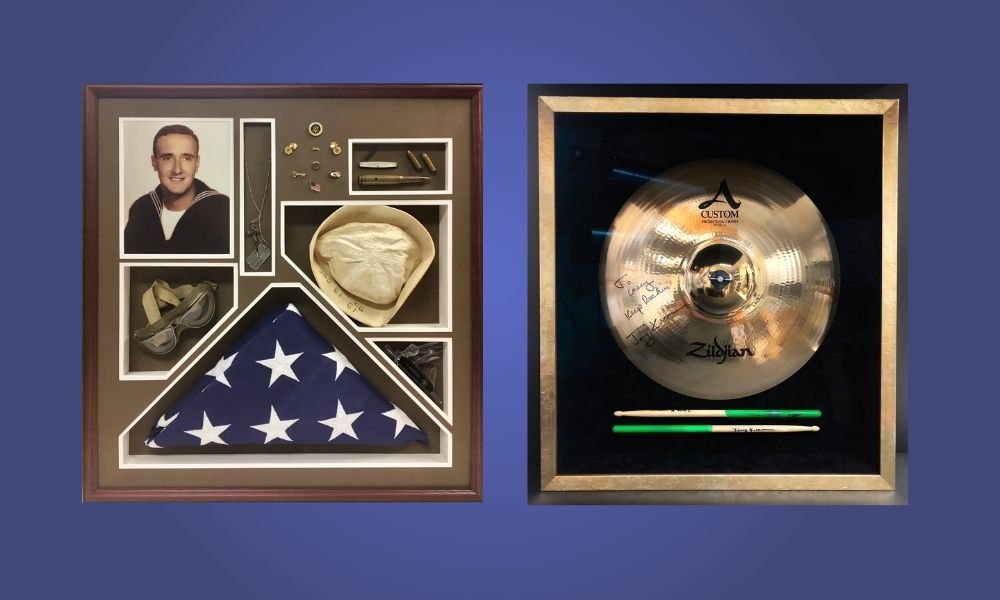
Exploring Shadow Box Framing Options
Shadow boxing can be a convenient way for you to place your artwork in a contained and stable space. To add depth, sophistication, and protection, find out what you need to know about framing needlepoint work in a shadow box frame.
How Shadow Boxes Add Depth
Unlike standard frames, shadow boxes create space between the needlepoint canvas and the glass, which prevents compression. This allows the piece to sit in a three-dimensional space without being exposed to dust and debris.
Choosing Custom Shadow Box Designs
Working with the custom framing team at Complete Pictures can allow you to personalize your design with care. You can choose colors, textures, and decorative accents for a frame that suits your artwork, or craft a shadow box design that complements your needlepoint masterpiece and personal style.
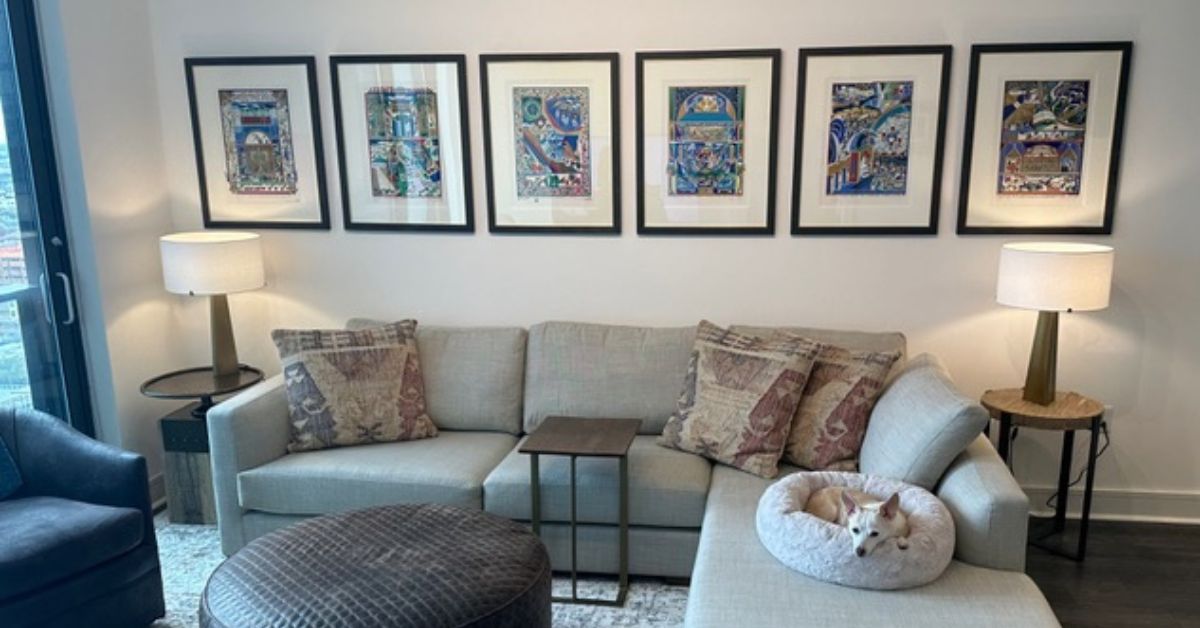
Displaying Your Framed Needlepoint
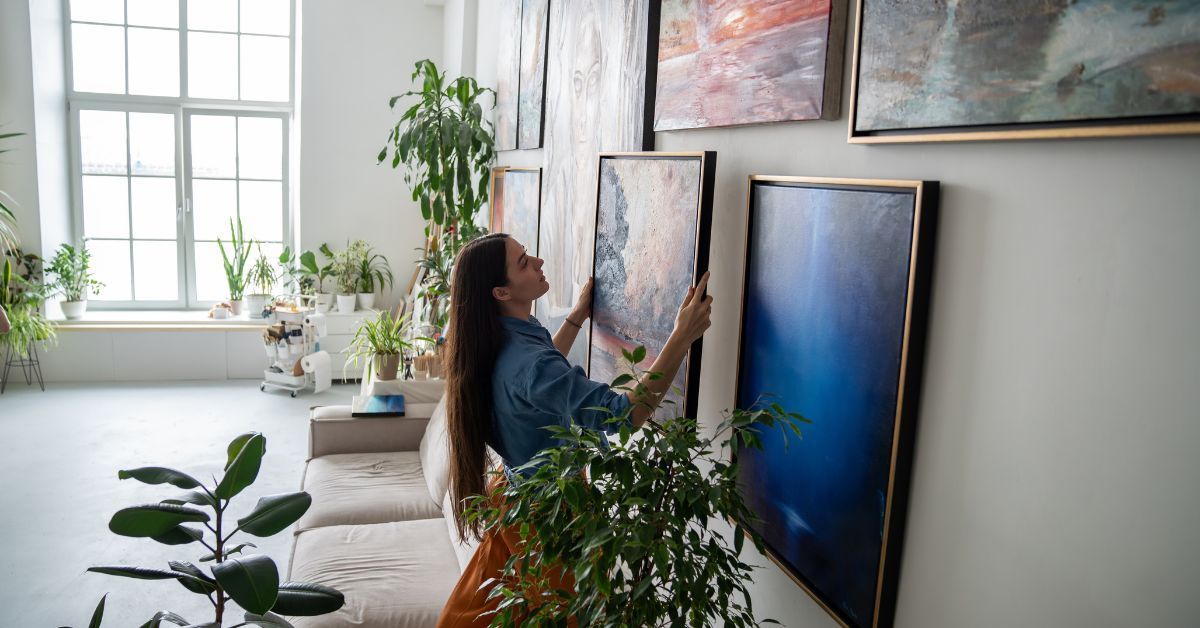
Hang your framed needlepoint where everyone can see it. High traffic rooms such as living areas or home offices make excellent display spaces. For larger, dramatic artworks, design a feature wall as the centerpiece of the room.
Lighting Tips
Proper lighting can enhance the visibility of the intricate embroidery details in your needlepoint. Position spotlights or adjustable wall-mounted lamps to cast soft, angled light across the surface. Avoid harsh overhead light that may create glare or reflections from the glass or acrylic barrier.
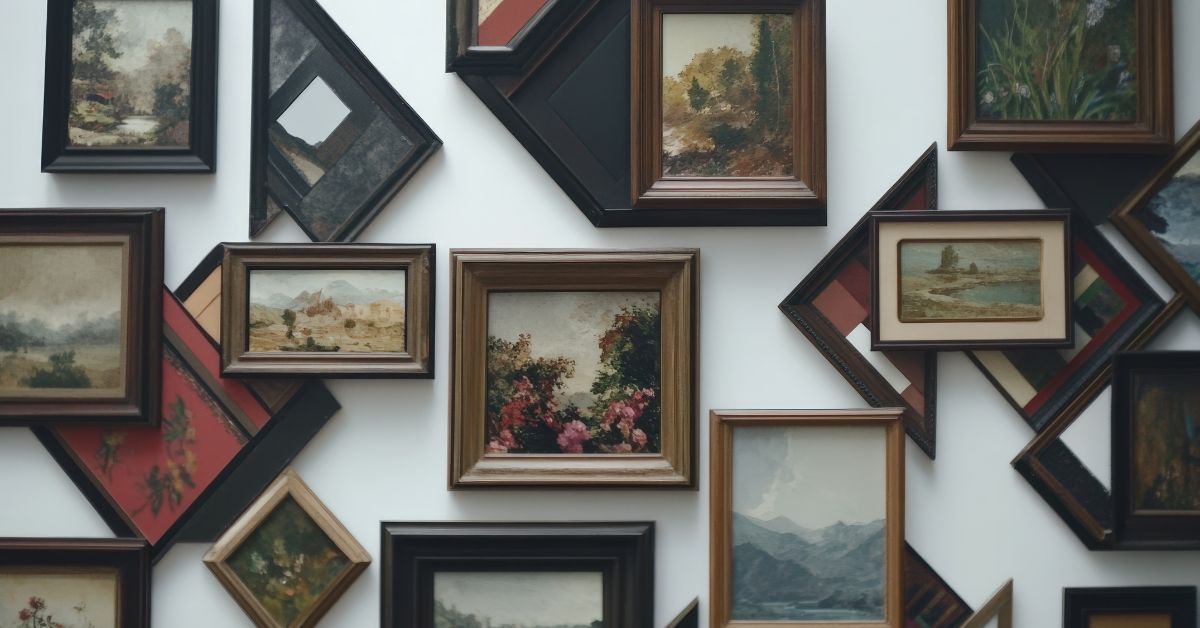
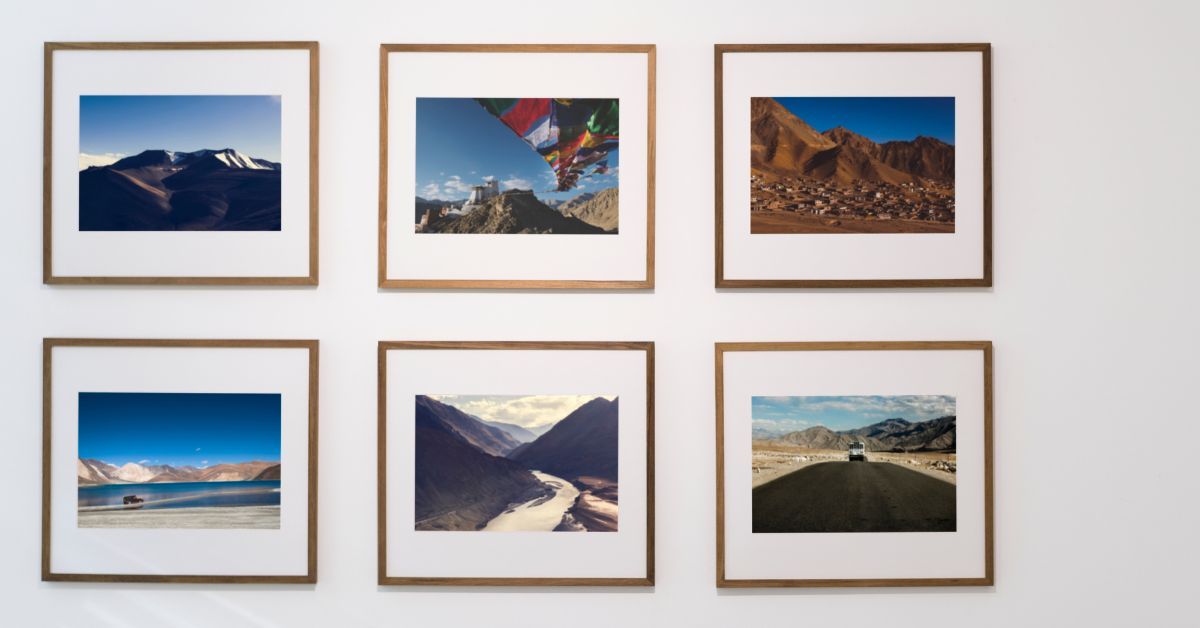
Creating a Gallery Wall
Gallery walls featuring multiple needlepoint frames or other artwork in varying sizes can embellish even a small room’s design. Alternating needlework with family photos or vintage paintings creates a visually appealing narrative. Use similar-colored frames or spacing for consistency.
With these framing tips in mind, you’ll be able to showcase your embroidery art with confidence. For needlepoint art with unique dimensions, consider working with our team at Complete Pictures for custom shadow box framing. With our support, you can pick the perfect color, texture, and size for a frame that complements your artwork and vision. Get in touch with our specialists today.